General Setup:
Seeds: Northern Lights Auto from RQS
Grow Medium: Coco and Perlite 70/30
Nutrients:
Root Boosters and Blends Great White Mycorrhizal Fungi Root Enhancer, DYNOMYCO Premium Mycorrhizal Inoculant, Mykos Mycorrhizal Inoculant, Tribus Organic Microbial Inoculant
Main Nutrient System: Ventana Plant Science (VPS), FlavUh, Stash Blend
Grow Environment:
Light: AC Infinity IONBOARD S44 – LED Grow Light Board 400W
Tent: AC Infinity CLOUDLAB 642, Advance Grow Tent 4 x 2
Humidifier: AC infinity CLOUDFORGE T3
Ventilation and Circulation: AC Infinity CLOUDLINE T-Series Duct Fan 4 Inch, AC Infinity Duct Carbon Filter, Australian Charcoal, 4-Inch, AC Infinity CLOUDRAY A6, Gen 2 Grow Tent Clip Fan 6”
Pots: Autopot Geopot 3 Gallon Cloth Pot
First Autopot Run… and coco run… muhahah!
It’s time for my first run with both coco coir and the marvelous autopots! I’ve heard amazing things about autopots, and I’ve been wanting some self-watering integration in at least one of my two tents for ease and since I wanted to try some coco coir grows, it seems like a no brainer.
For this grow, I did a great amount of research, and I think I have it as dialed in as I can (in terms of gear and initial set-up) for a first run using the autopot system.
Autopots:
Here are my specifics for the autopots:
Autopot XL 3.9 Gallon Geopot System
3 Gallon Geopot Cloth Pots
Autopot Airdomes
12.4 Gallon Reservoir
HITOP Dual Outlet Air Pump
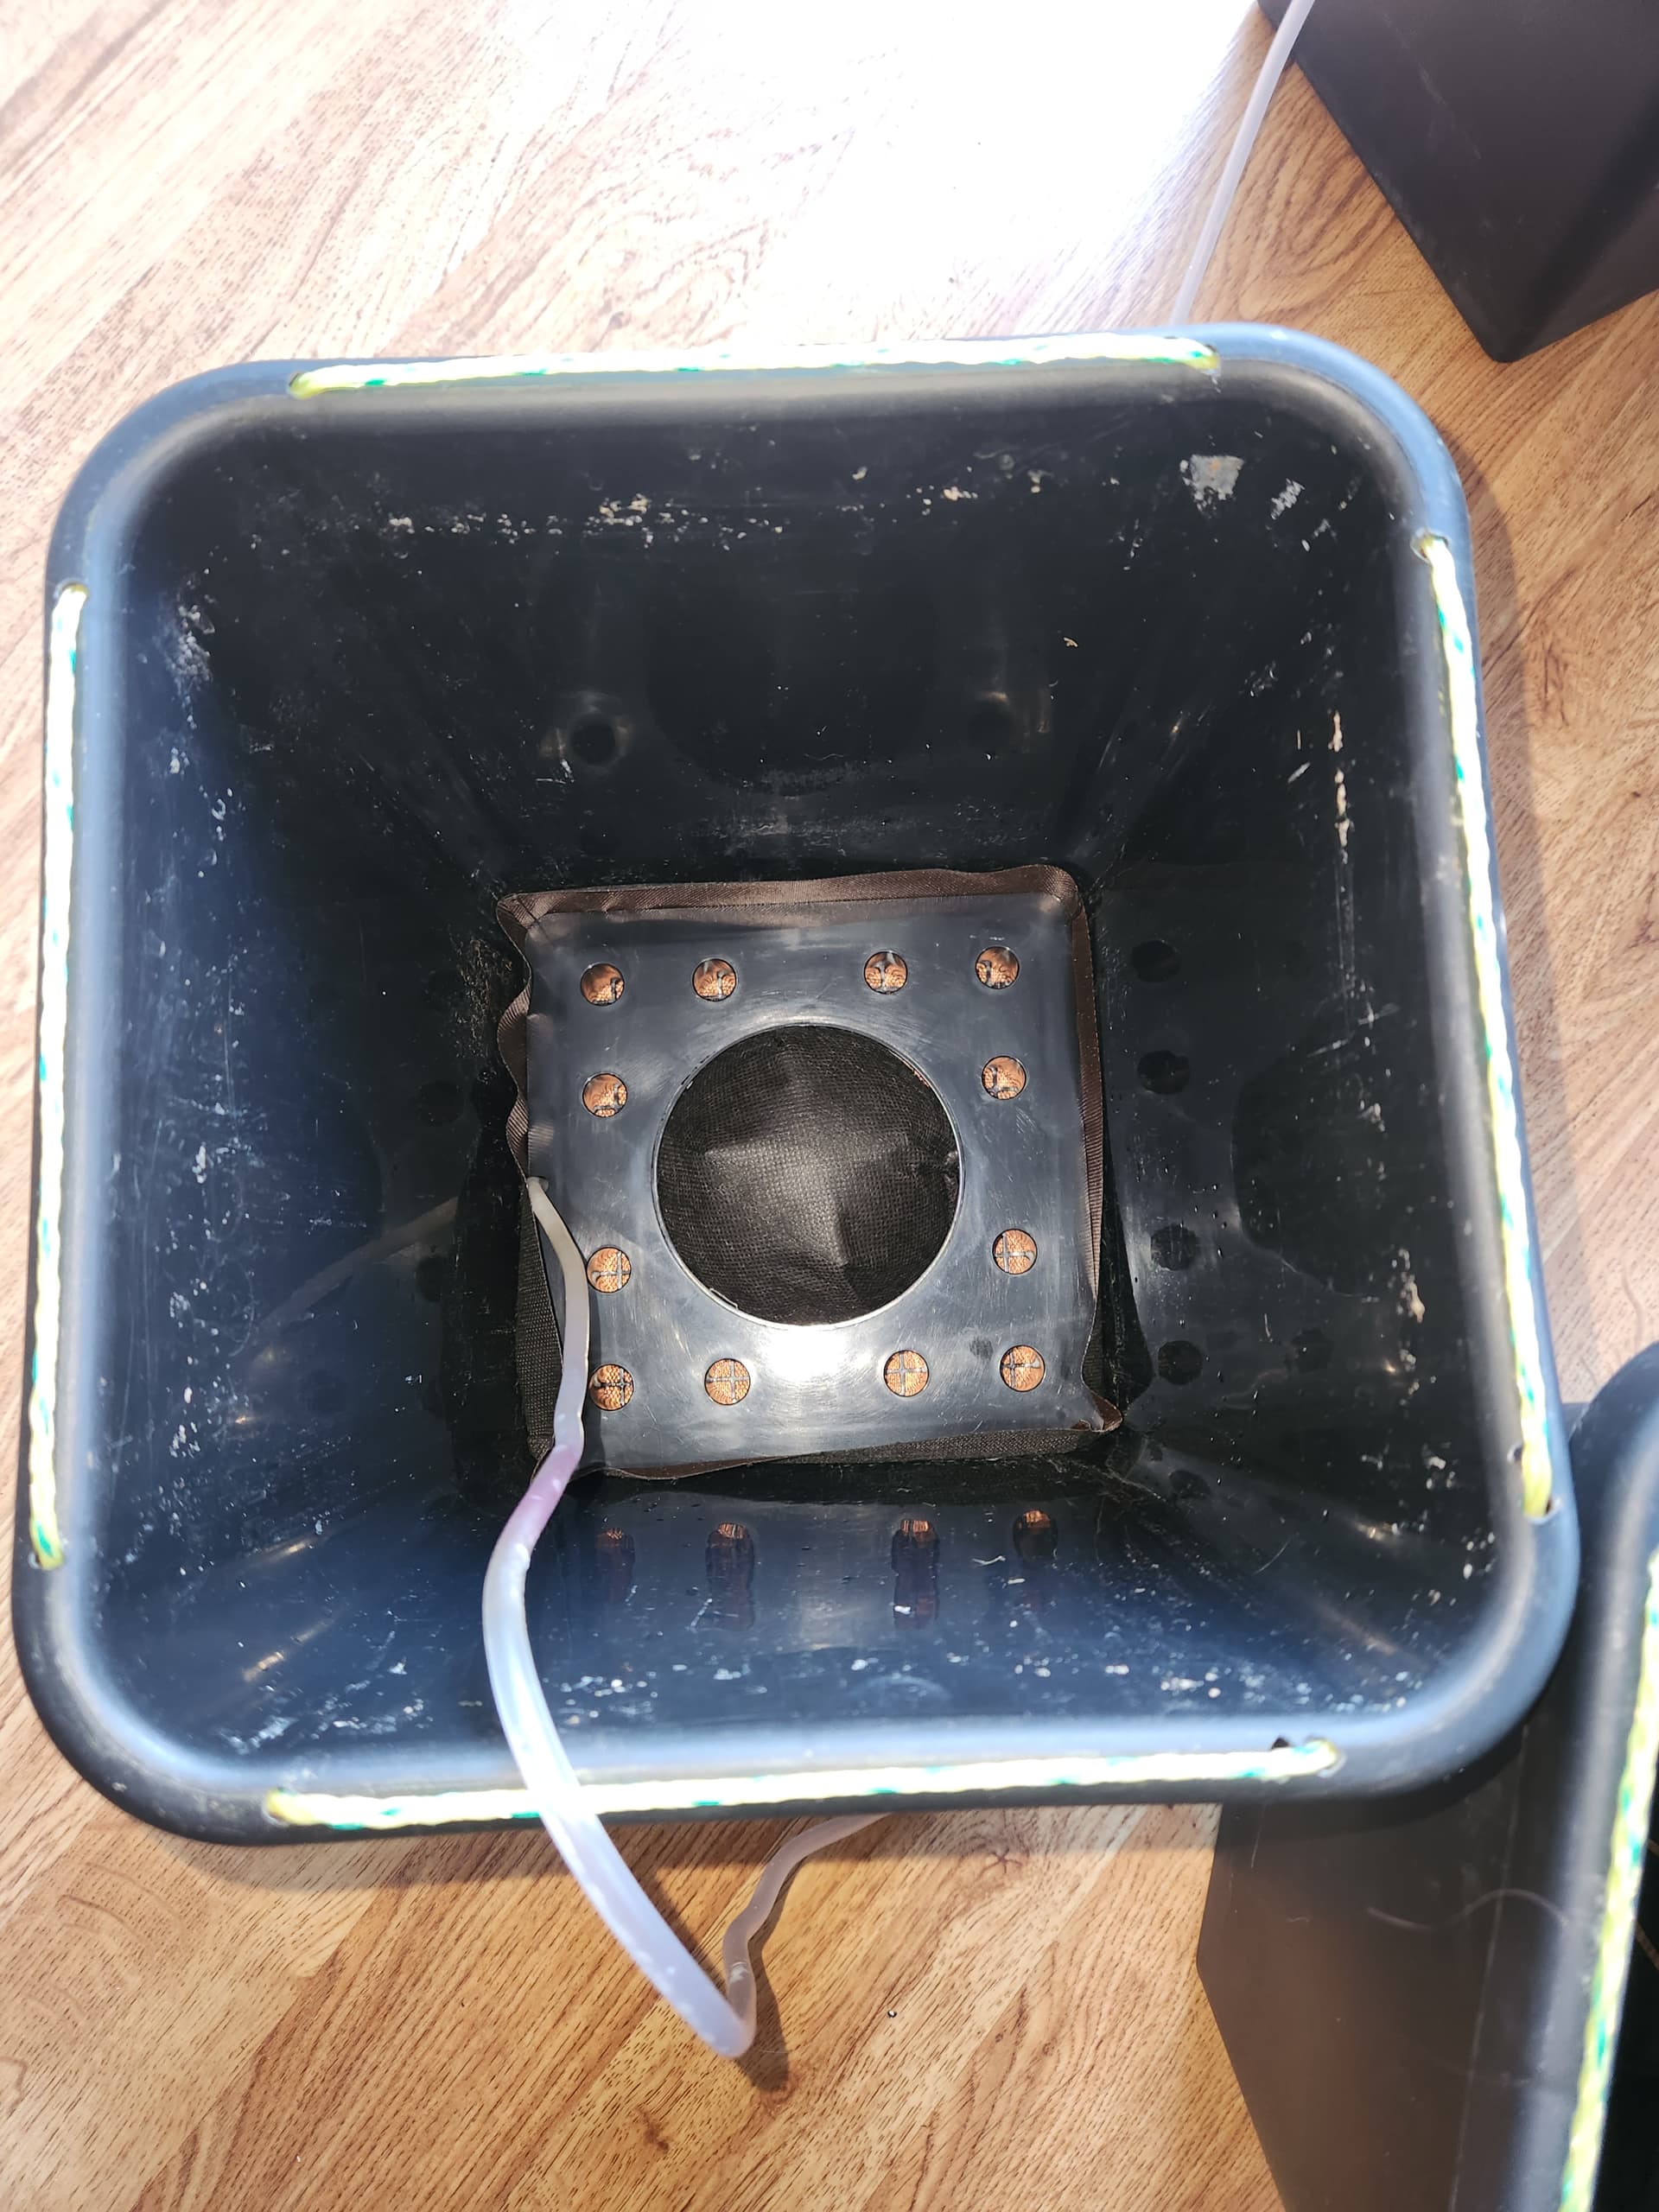
The system was super easy to set up and there are several videos out there on it, so I won’t waste any time for this journal. However, one thing I read about was doing a bit of pre-emptive work on opening up the air holes on the blue pipes of the air domes before installing them into the domes and then into the pots.
For this task, I took some q-tips and cut the cotton ends off of each side. They seemed like a nice fit to properly spread each hole. Once cut, I threaded each pipe through the q-tips and let it sit for 48-hours to ensure proper time to settle into shape. It worked great!


Once I let those sit, I installed them into the airdomes, connected them to their appropriate tubing for the air pump, and placed them under the airbases.
They were ready for coco!
Coco Coir Preparation Process
This is my very FIRST time using Coco Coir in any capacity. I have always used soil, so this was quite the learning process for me. I did some solid reading and some good ol’ Youtube research on the whole process and came up with the plan of rinsing brick coco, mixing at about a 70/30 ratio with Perlite, and buffering in a CalMag soak twice to get it ready for potting.
The rinse went well. I used distilled water and rinsed around 20 gallons through the 5-ish gallons of coco that I will be using for this grow.
Once rinsed, I started the buffering process!
I buffered twice (both for 24 hours). Each time was a buffering solution composed of 9 gallons of distilled water.
For the water, I went with around .8 to 1 ec charge and a ph of 6.0.
My nutrients included
4 to 5 ml Ventana Plant Science Support (test ec)
.5 to 1 ml Ventana Plant Science Grow (added in bits to ensure not going over 1)
After the first 24 hour soak, I fully drained it and resoaked in another batch of the same 9 gallon mixture to ensure proper CalMag buffering.
Once she was all buffered, I drained and potted them up!

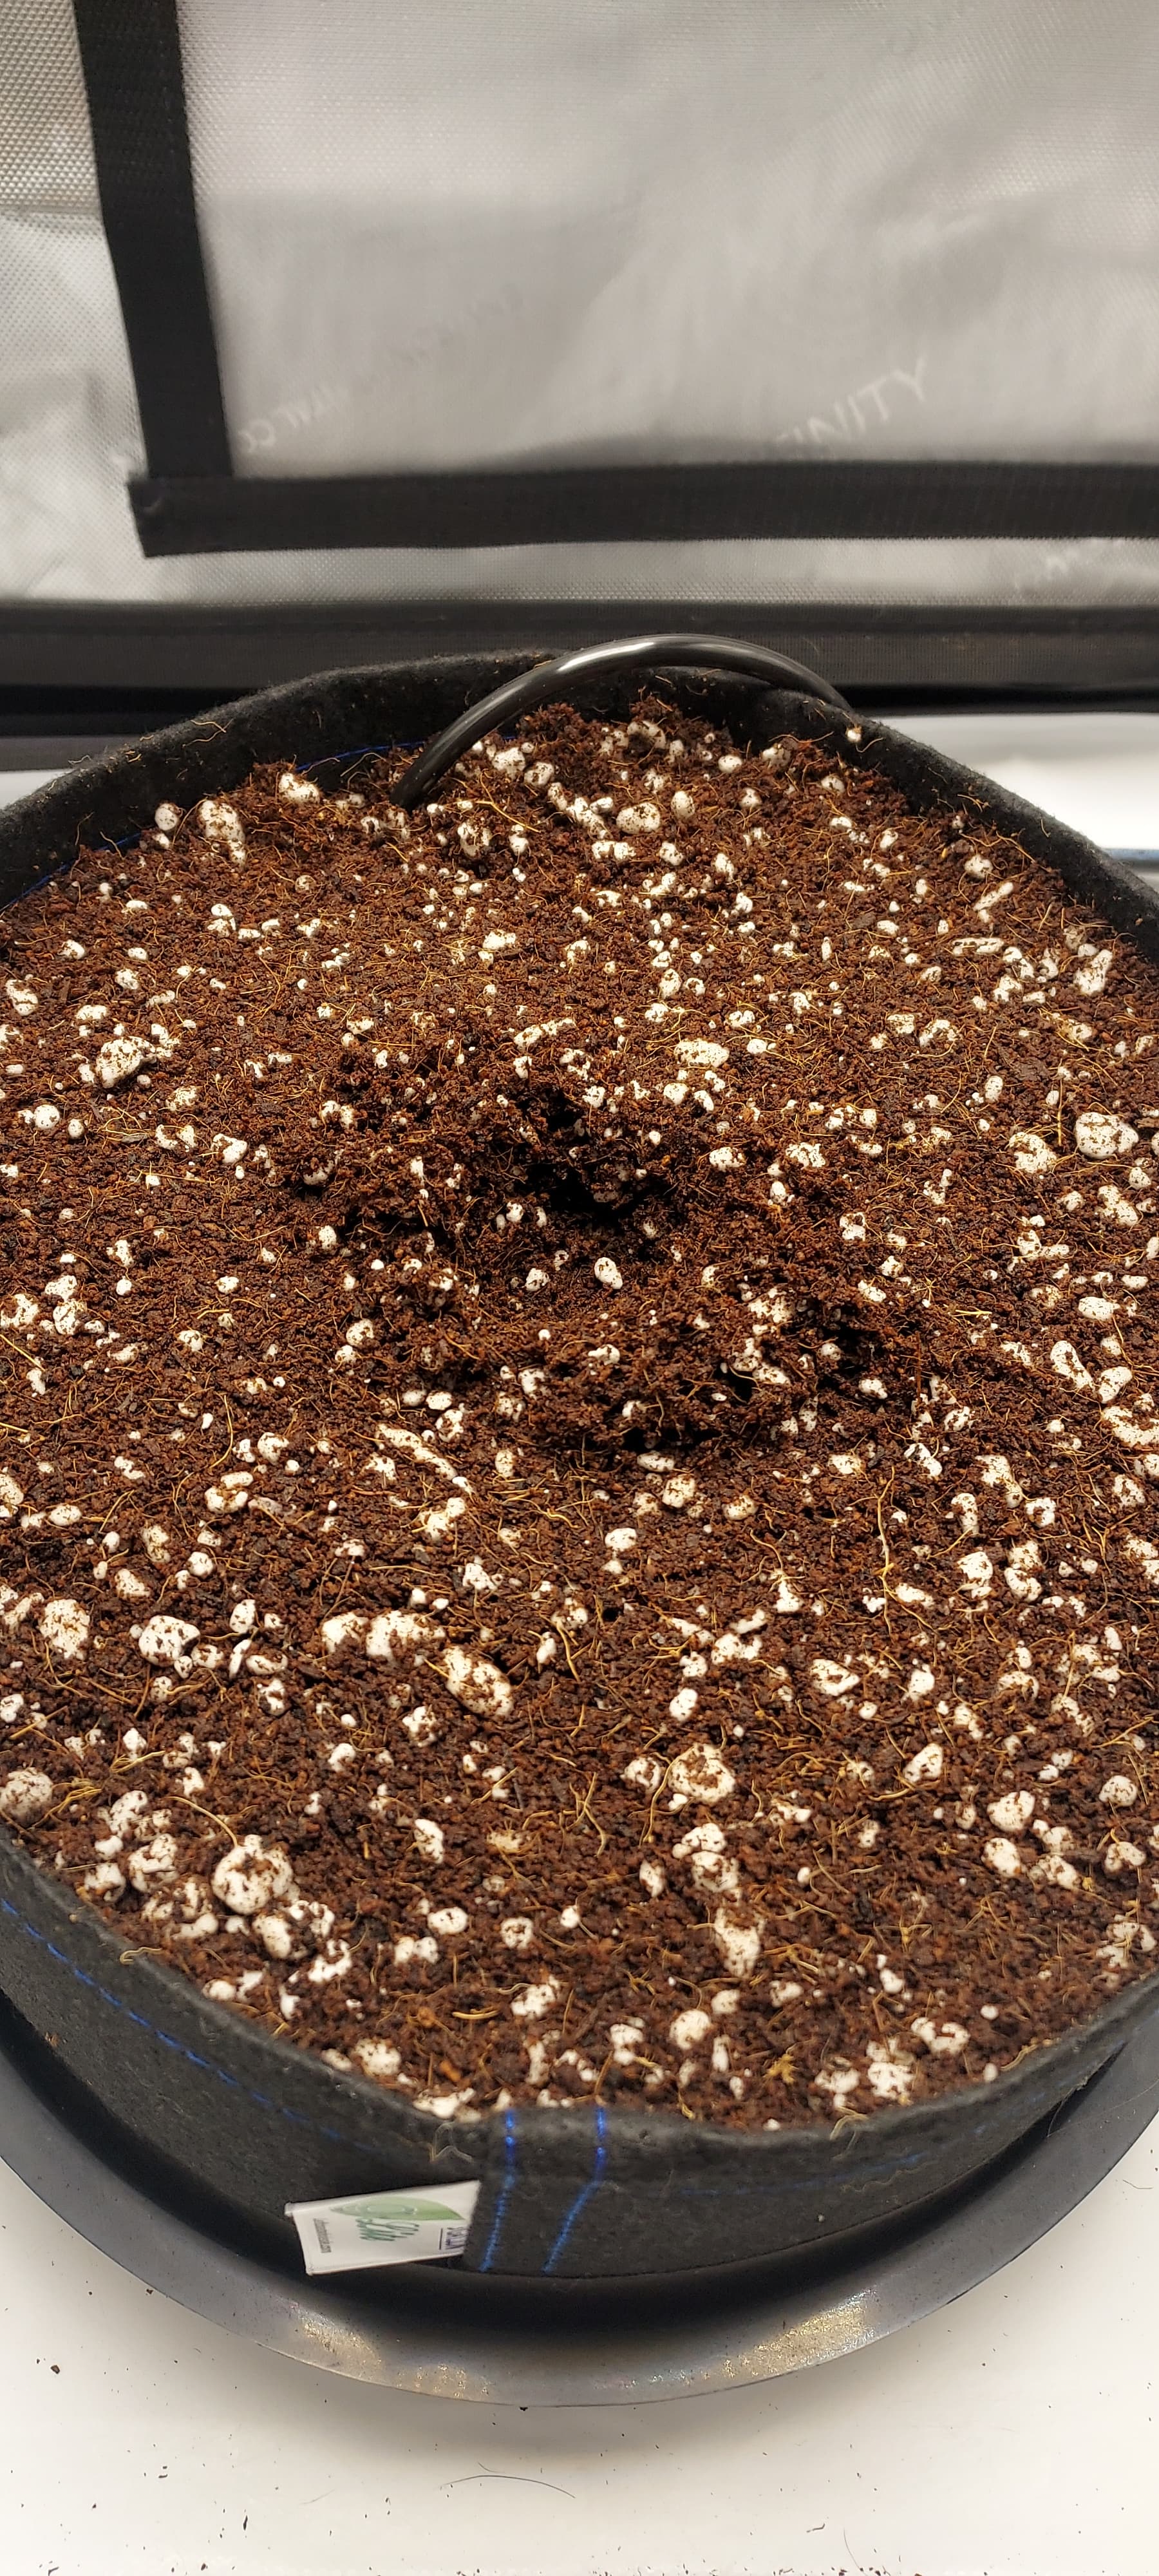
I put about 25 percent of the base coco into the Geopot, and then I added around 50 percent of the next layer of coco. In that 50% of coco, I mixed around 3 tsp of Stash Blend to pre-charge some nutrients into the coco and get some of the advantages of Stash Blend into the medium. Since I am using autopots, I don’t plant on doing any top feeding after I turn on the system/air domes. This seemed like the best way to get some of those benefits in, but we shall see!


Once I thoroughly mixed in the Stash Blend, I topped the pots off as much as possible, and placed them into the autopot vestibules into the tent!
I still need to fit the main hose to the system, but I have a two weeks before I turn it on, so there’s some time.
All in all, it went well. Hopefully my first coco preparation was solid and we shall see the results!

Germination
I’ve been using Organiplugs for all my germination for my last 20+ seeds, and I am not going back to any previous system. All you do is: insert the seed, place into a germination cube holder, place in a ziplock back, wrap it up in a towl, place it in a tent, and wait for her to sprout!
I don’t have to worry about anything really, and it almost protects the seed from any real concerns from the seedling/sprouting process.


Once she is sprouted (either I see a taproot, or the sprout actually pops out of the hole, or both!), I placed her about ¾ of the way down into the coco.
In the coco hole, I added some Xtreme Mykos to encourage root development, one of my favorite reasons to use organiplugs!


!

Then, I watered her in with 100 ml of distilled water mixed with 2 ml Ventana Plance Science Support and 1 ml Tribus. I honestly feel like I could have skipped the “watering in” step here, since the organiplug absorbed a fair bit of water from the coco, and I was a bit worried. However, I went with it anyway out of habit knowing that if I made a mistake, it is all good!
Sprouting
After one day, you could see the little girl ready to poke out!

She popped the next day (8/29):

Official Day 1:
I am going to count 8/30 as my official day 1!


Plan for the grow:
All autopots baby! I am going to stay fairly high with the ec, given the coco grow. For the first two weeks, I will hand water and keep her high with Ventana Plant Science support to balance out the use of distilled water. I will also use 2 ml/gallon of Tribus to get as many microbes in the coco as possible.
I’ll follow the nutrient line recommendation and see how she does!
This is all one big experiment and I am fully understanding that it will take a few runs in these autopots to get them dialed in, not to mention this is my first coco experience haha.
However, I am super excited and look forward to hearing from you all throughout this experience!
Please share any wisdom you have and I look forward to this one!