Hey ILGM fam!
Following the completion of my first RDWC grow earlier this year, I’ve spent the last few months overhauling my setup to address the biggest issues I encountered namely: solution temperature, circulation, tent space and difficulty of performing a solution refresh (drain/refill)
Before I dive into the details, here are the specs and a couple photos of my “finalized” setup (quotes because I think I’ll always be tinkering). I got pretty much everything from PA Hydroponics, Amazon and the big orange hardware store.
Equipment
- Tent: AC Infinity 2x4x6
- Controller: AC Infinity Controller 69 Pro
- Exhaust Fan: AC Infinity Cloudline PRO S4
- Circ Fans: (2) AC Infinity Cloudray S6
- Humidifier: 3L w/adjustable output from Amazon
- Lights: AC Infinity Ionframe EVO3 + AC Infinity Ionbeam S16
- Chiller: Active Aqua 1/0 HP
- Circulation Pumps: Active Aqua 250
- Drain Pump: 1/10 HP self-priming transfer pump
- Air Pump: Active Aqua AAPA15L
- Air Stones: 2" air stone balls
- Plumbing: 3/4" supply soft lines, 3" PVC return
- Other: 8 Gallon grow sites, 17 gallon reservoir (system “full” is about 16 gallons)
Grow Space
In my home office I have a small closet which fits a 2x4 tent perfectly. Last grow I struggled with solution temps so I was determined to position the reservoir and chiller outside of the tent… not to mention there isn’t space in the tent for that stuff lol. To accomplish this, I made a set of bulkhead plates out of some 1/16 aluminum to pass water/air lines through the tent wall with minimal light or atmospheric leaking. More on that later.
Anyways, here’s how it looks:


I gotta give my wife a shoutout here who had the idea to put a short curtain above the tent to hide the “clutter” up there, such as the ducting for the exhaust fan that runs up into my attic.
When redesigning my setup, I wanted to keep as much outside of the tent as possible. I think I achieved that quite well! Aside from the obvious stuff you see in the above pictures like the reservoir, chiller, and various pumps, the driver for the light, exhaust fan, a power strip and some other wiring are all sitting above the tent on a piece of 1/4" plywood I cut down to match the tent’s footprint (roofprint…?). Conveniently, an attic access is in this closet, which I cut a hole in and used an HVAC flange to connect the tent’s exhaust ducting.
Atop the tent:

I keep a few printouts taped to the white board next to my tent. One is a VPD chart with a baked-in leaf temperature offset for quick referencing, the other two I made for myself which are a nutrient mixing guide (by week/drain cycle) and a growth stages guide which covers things like ideal VPD, light distance, when to do nutrient refreshes, etc. No shame, I love the data!

Prior to settling everything into its place in my office, I decided to leak test the system out in my workshop and boy am I glad I did! Each bulkhead had a slow drip that I couldn’t fix for the life of me. I ultimately had enough with it and hit those babies with some aquarium silicone and to no surprise, that solved it. As an added bonus, these tests demanded testing out the drain system and calculating how much water I need to fill, all good stuff! As you can see in this photo, the cardboard is dry - that’s a good sign ![]()

After adding 16 gallons of water with my circulation pump running, the water level was just below the net pot in each grow site. The waterfall effect also disturbs the water nicely, which will help the hydroton wick it up during the seedling stage. This is further aided by air stones that are positioned directly below the net pot (not seen in this photo):

The drain system is something I’m especially happy with. Both grow site buckets have a bulkhead on the bottom, which are then tee’d and behind a ball valve which leads to the drain pump. On the drain pump, I put a garden hose splitter on the intake side. One port has a barb hose adapter on it and goes to the drain line from the buckets; this line stays connected. The other port I connect a short hose to and use that to suck out the water that remains in bottom of each bucket due to the bulkhead flange height. This results in a darn near 100% drain of the system and take less than 10 minutes start to finish!

The Reservoir features (3) bulkheads: one to supply the circulation pump (center), and two on one of the “ends” of the tote to supply the chiller pump and as a return from the chiller. I decided to toss a couple air stones in the reservoir near the bulkhead that feeds the circulation pump because my air pump has 4 outlets so, why not use them all?

Here you see the plumbing from those bulkheads to the water chiller supply pump / return from the chiller. Also visible in this photo is a really perfectly sized boot tray I found at a local garden supply shop which will provide me a time buffer in case a leak does develop during system use. I have these “Govee” brand BlueTooth water sensors in this tray as well as within the tent which will emit an audible alarm and send a notification to my phone if water is detected. I use this around the house and they’re great!

The central bulkhead, the lowest point in the reservoir, feeds the circulation pump seen here:

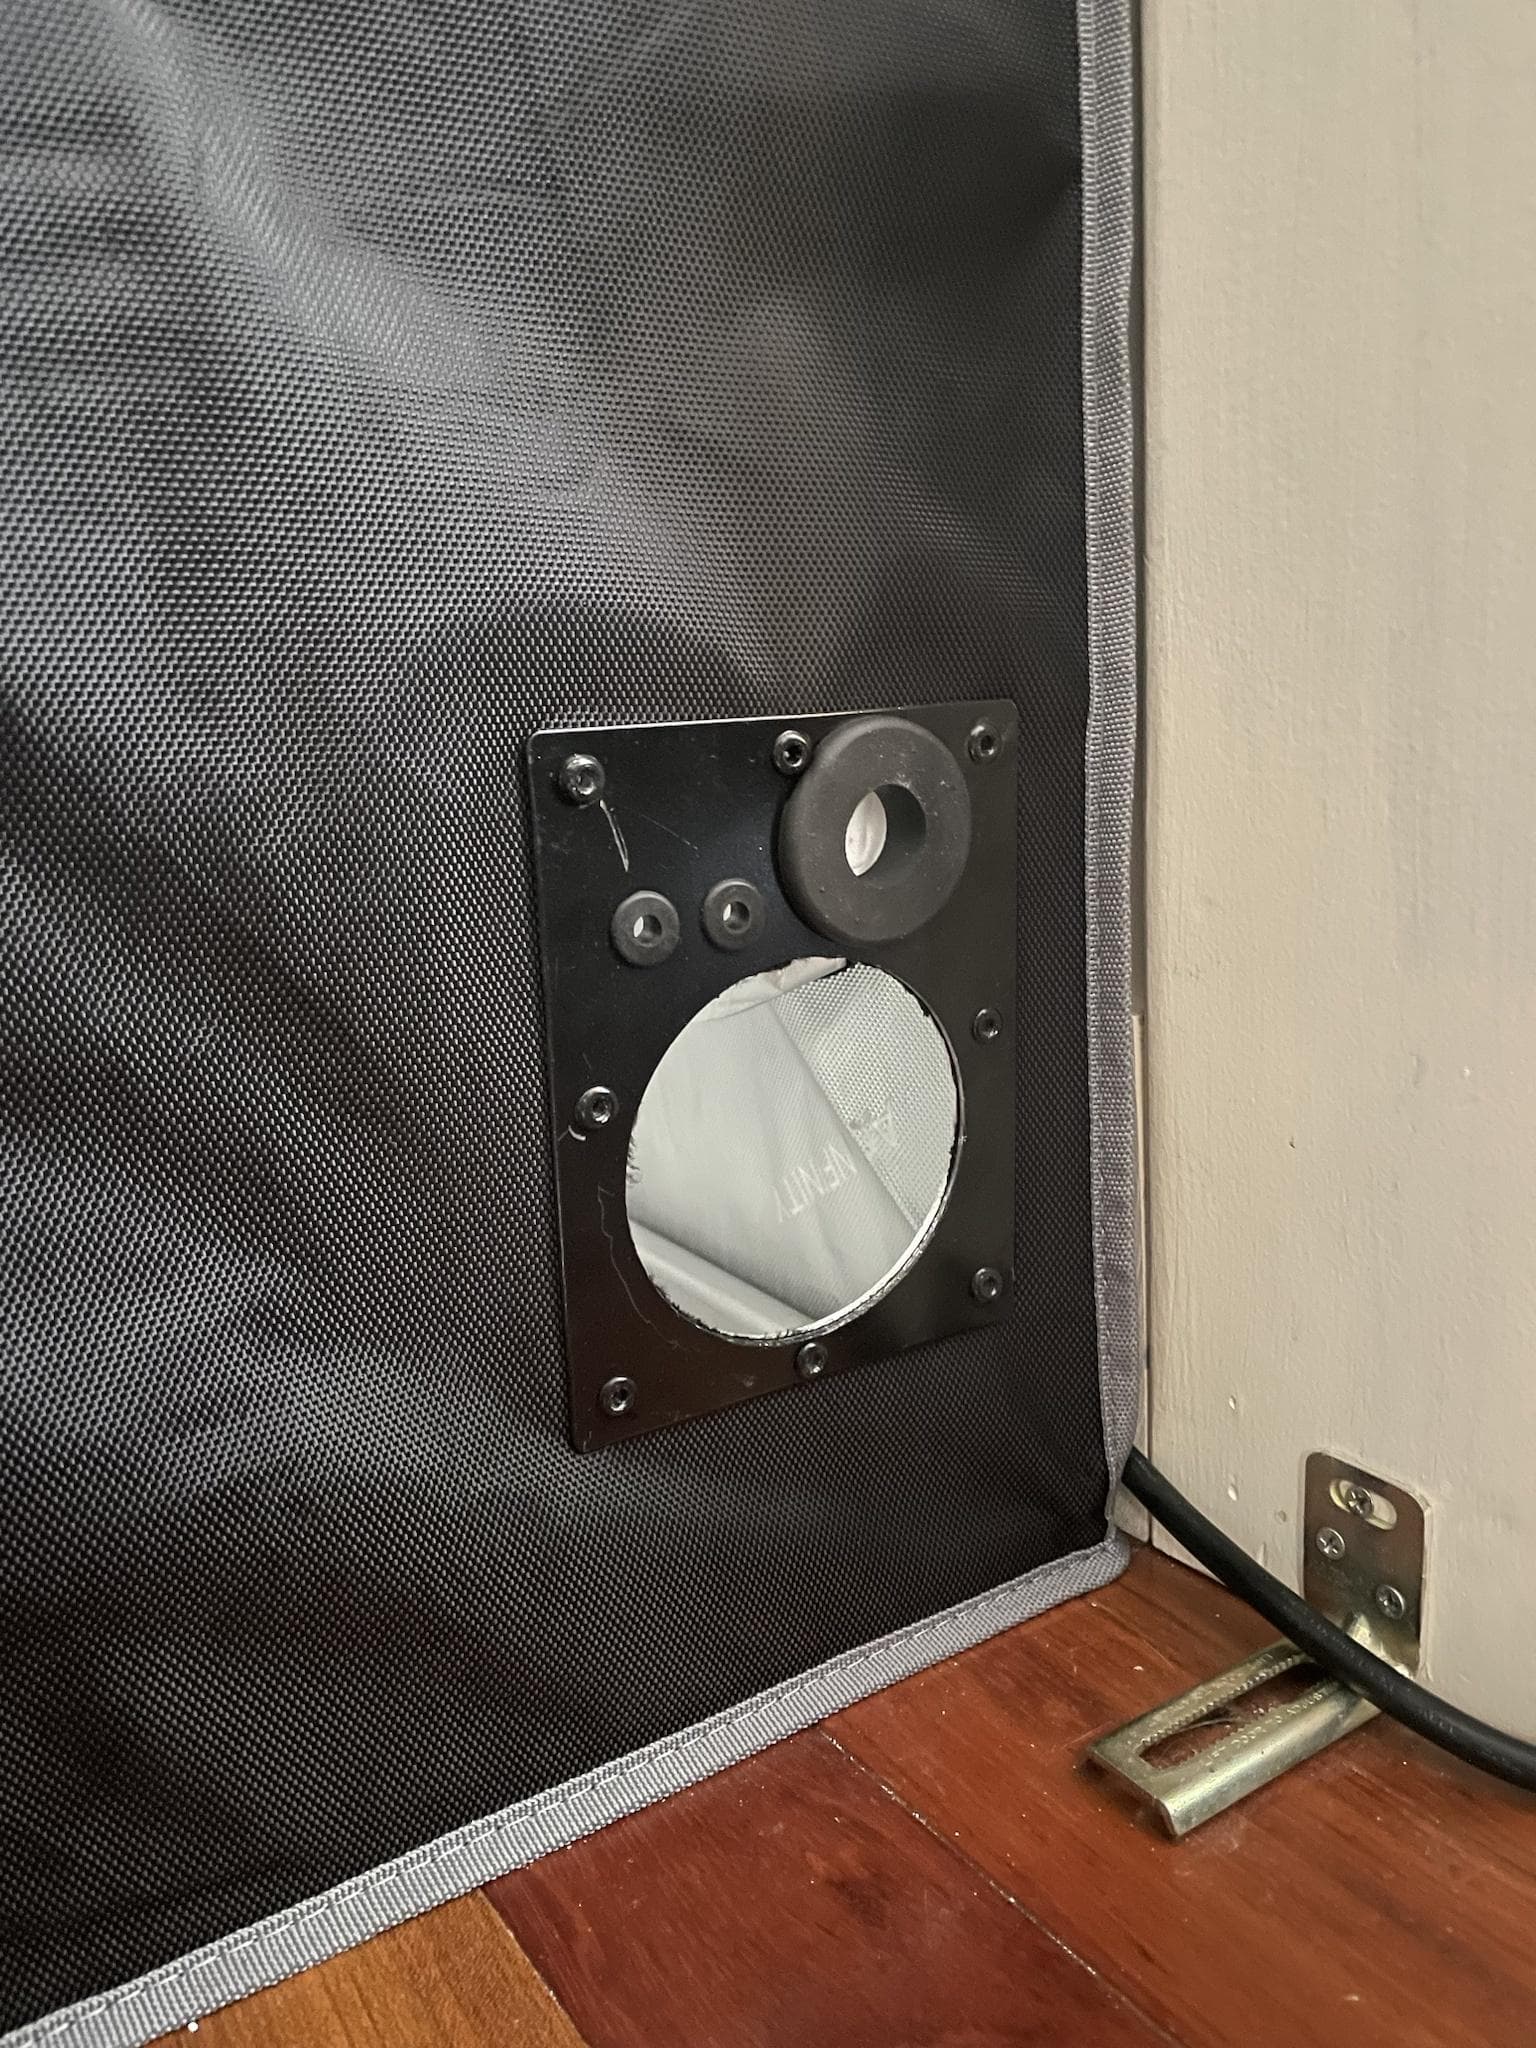
Now for one detail that I am particularly jazzed about, the bulkhead plates I made for the tent wall. I made this out of 1/16 aluminum with holes sized appropriatley for the 3" PVC return pipe, and rubber grommets for the 3/4" water supply line and two smaller grommets for the air hose coming from the pump. I made two identical plates (one for the inside, one for the outside) and installed them with rivets.


Tadaaaaa!
Another fun little detail is this platform I made out of scrap for the humidifier to sit on, providing a pathway for the drain lines. I had originally placed the humidifier on the “roof” of the tent and used corrugated hosing to deliver the mist inside, but this yielded excessive condensation in the hose which ultimately became a puddle on the tent floor. So I had to come up with a solution to fit the humidifier inside the tent, and this was it.


Lastly, I made an adjustable trellis using PVC pipe, eye hooks, string and ratcheting hangers. I’ve never SCROG’d before so I’m excited to give it a try. Since the net is suspended by ratcheting hangers I can easily adjust the height to best suit how the plants grow. I intend to do a “two tier” scrog, and for the upper layer (which I understand is mainly to support colas) I’m using one of those elastic trellis nets that I will install during the flowering stretch. I covered the “top” of the screen in aluminum tape cause why not?


Phew, I think that pretty well covers it!
I had a lot of fun nerding out and building this setup, and am super eager to put it to use. I’m starting from seed again, and this time I’ve chosen to grow a strain from a local company called “Green Mountain Cheddar” (can you guess where I’m located?). It’s a feminized photoperiod indica that one of the guys at the local grow shop had nice things to say about, so I thought I’d give it a go.
I plan to germiniate seeds in the next few weeks, and you can be sure I’ll keep this thread updated along the way! If you made it this far, thanks a ton for reading!!
