I’ll be growing four photoperiod plants in a 4’x4’ tent; if you followed my last grow, it’s the same infrastructure, but in primarily soil rather than coco/perlite. Last grow was as close to 100% organic as I could feasibly get it (idk what’s in those pH up/down potions…), and I want to keep that ball rolling. I went with two each of two strains: “Mimosa X Orange Punch” and “Permanent Velvet.” As you can see, the Velvets have been much more vigorous; those beans hit the soil a week ago, and it’s looking like one of the MOPs won’t make it. Deciding on a replacement will be a task to tend to shortly.
Right now the plants are in Mother Earth Groundswell soil; when it’s time to transfer, there will be more GS but also some other media on which I’ve not decided. I’m slowly poring over this lovely forum’s threads for relevant info; meanwhile any direct suggestions would be welcome. I’ve got lots of other projects that produce biomass of potential use, though I’d approach any with caution: coffee grounds and tea leaves, excess sauerkraut, overgrown kefir grains and kombucha SCOBYs, I generate and dispose of these things frequently and it would be great if they could perform a new service.
The cord is a humidity sensor connected to an exterior unit; I’ve had a dehumidifier running to hasten the nearby drying of the last batch, but in the next day or two I’ll trim all that goodness and turn it off for a while. Even with the (rather nice) dehumidifier running constantly, RH is in the 70s, which is great for now.
Strung under the Diablo is a UV bar, which I look forward to running alongside it when the gals are a little bigger. And when lighting needs really take off, there’s an old reliable Spider Farmer panel off to the side; I’ve got other lights if they seem appropriate, but these three combined is already plenty heavy artillery for this size grow.
I’m germinating the last of my MP seeds from Barney’s Farm as replacement for M1 who seems unlikely to join us. The others are doing just dandy so far.
Wow, I’ll be coming back to this one.
Any resources/guides you can rec regarding this stuff? I’m not sure what a soil drench is. I won’t get to these right away but much thanks for the good post.
Again the RH reads as mid-70s despite the dehumidifier running. I trimmed the previous batch a few days back, and am considering turning the unit off and letting naturally high humidity do its things for the wee ones.
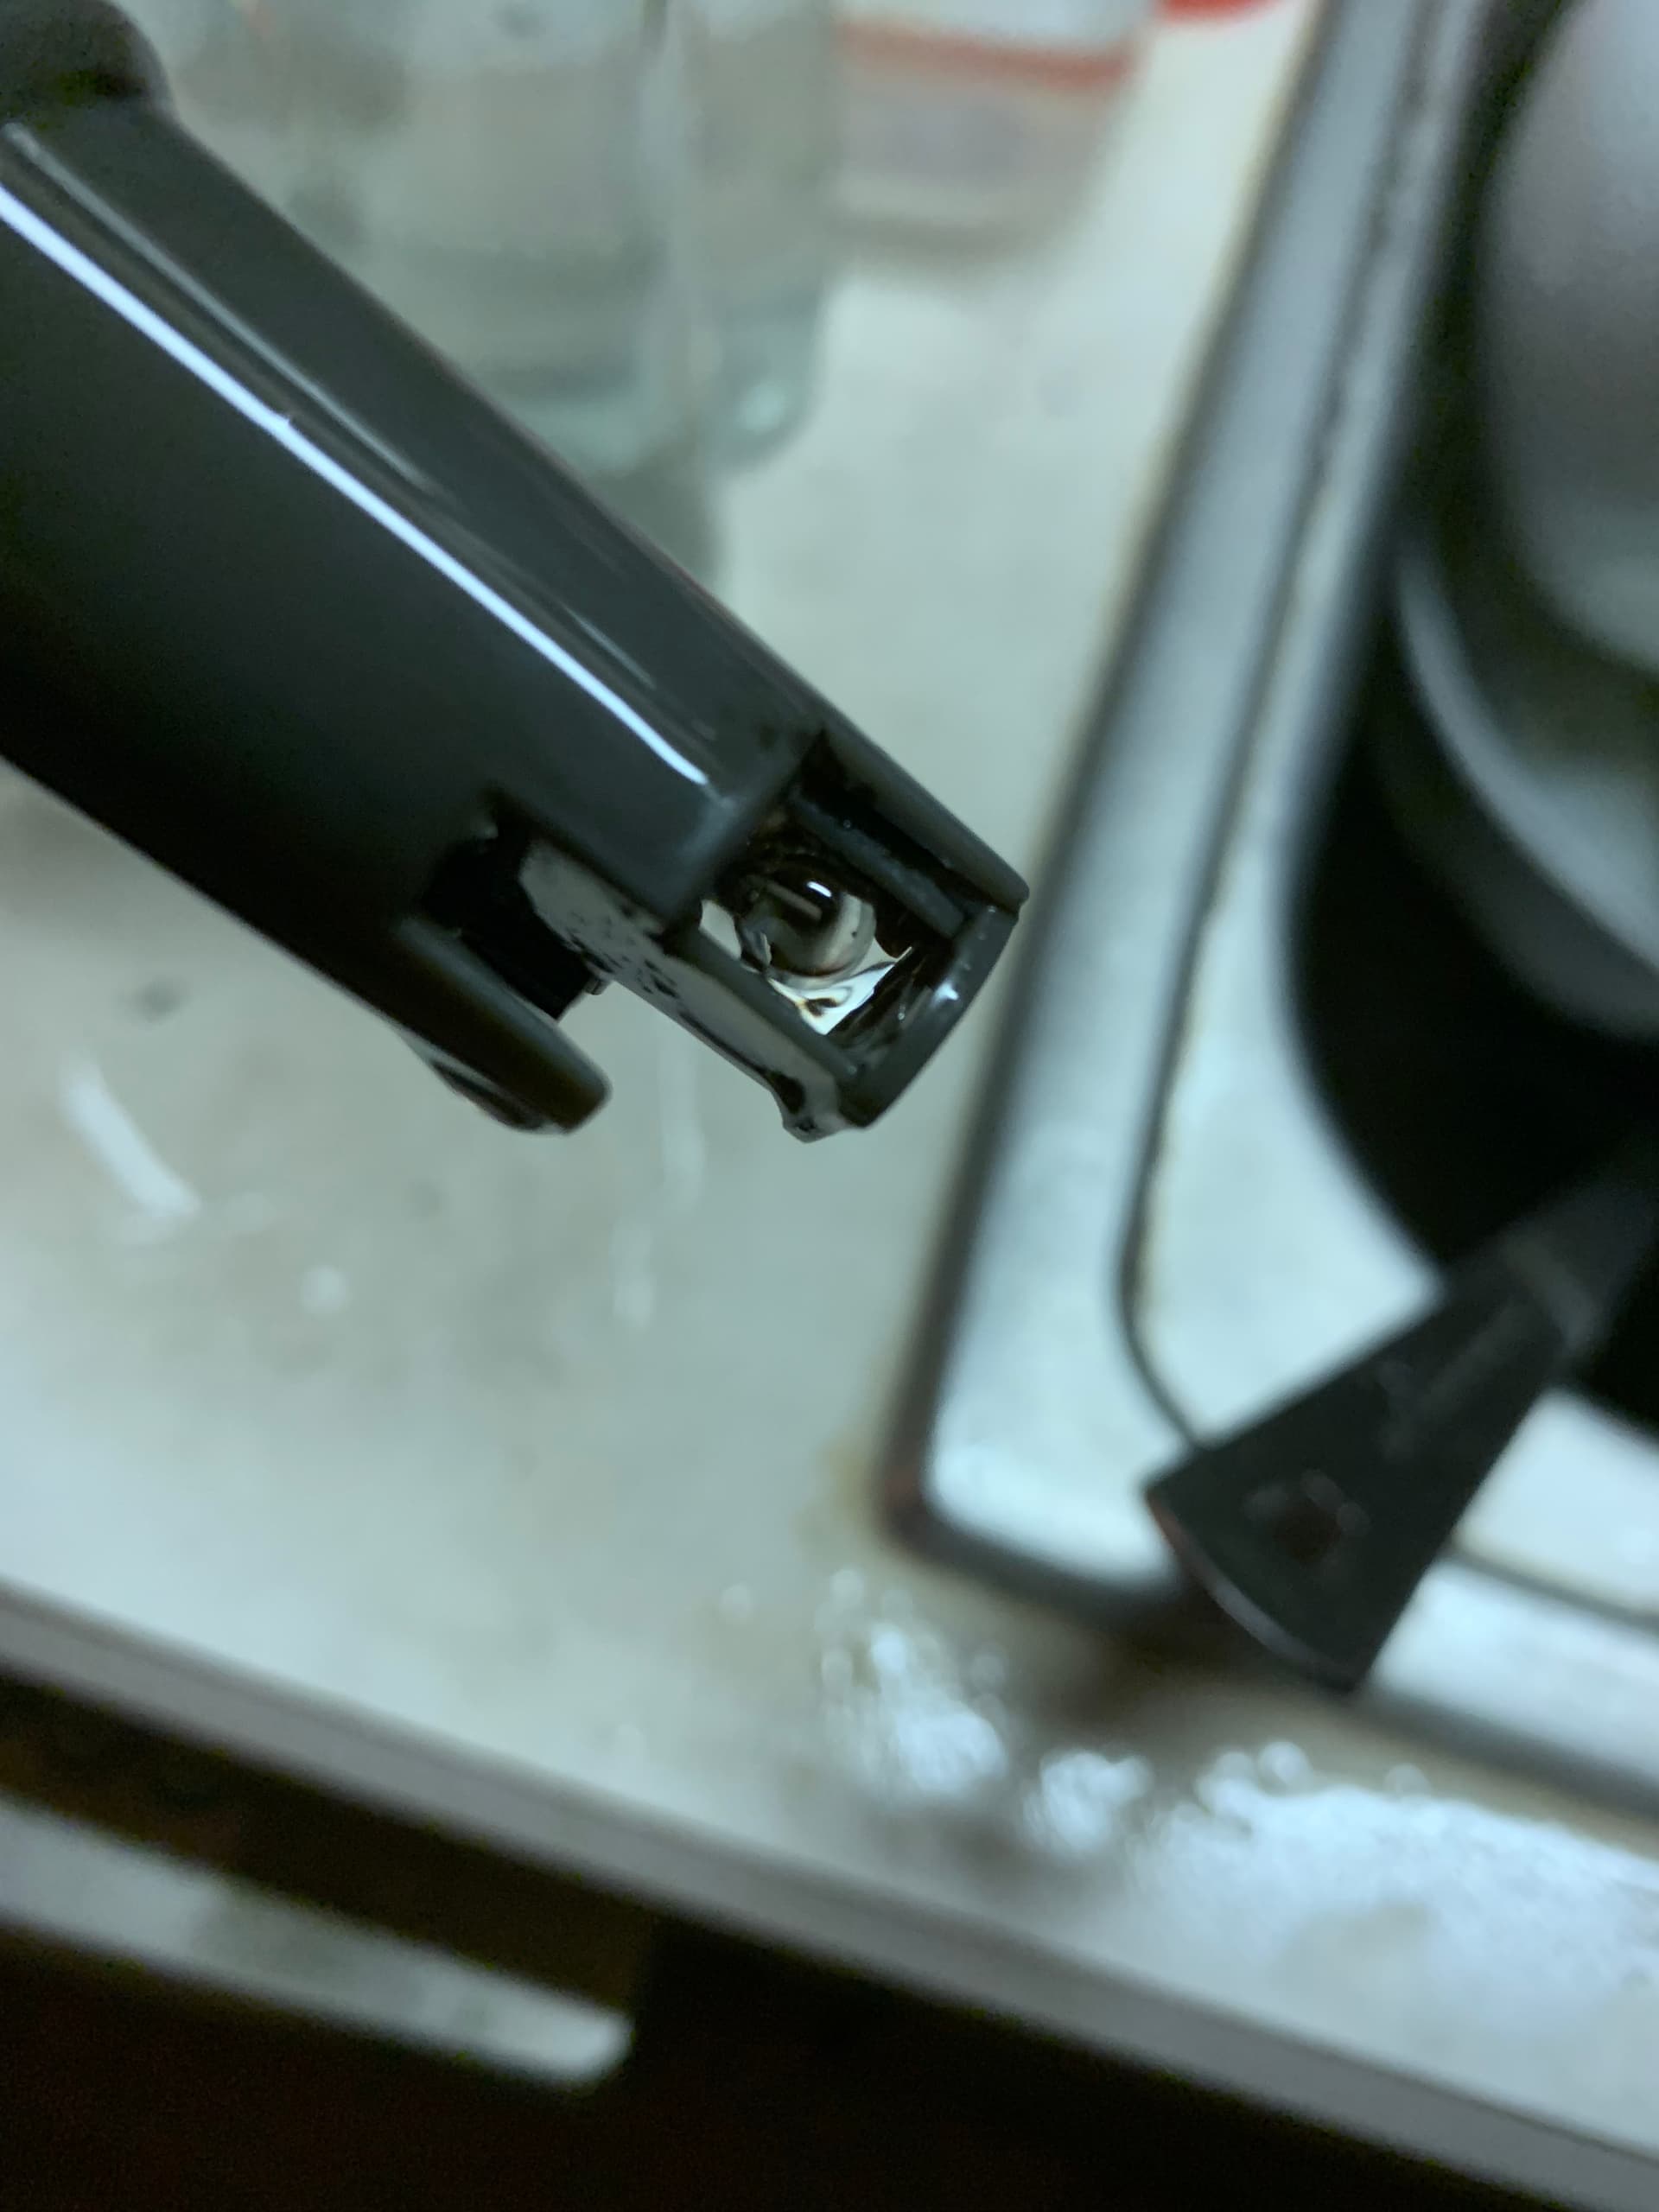
Meanwhile, something that’s been on the back burning a while is giving this here pH meter the attention and upkeep it deserves.
There may have been a spell between grows wherein the probe totally dried out; my apologies to the meter if so. I calibrated the thing about a year ago when I first set it up, and keep telling myself and forgetting to do it again…
Anyone know of a good way to remove microbial growth on the probe, like the dark mass you witness above? I’ve not treated her quite right but I still regard the meter as a fine and delicate machine, and I’m not sure what’s appropriate for cleansing it but without harming. I’ve only been giving modest gulpsworth of untampered-with filter water so far, but the shift to proper pH balancing has to come soon…
I turned on the UV bar, with a schedule similar to el Diablo’s but shorter. The Velvet Sisters are out of control! Transplant time is on the horizon. I’ve got plenty of MEGS soil, but would prefer to cut it with something; how’s perlite sound?
The bottle is old and idk how much it does, but for now it’s a start toward immersing these girls in a beautifully diverse culture.
For any who are interested, here are the readings from the AC Infinity inline fan and humidity probe:
Now they’re in I believe five gallon grow bags, filled with a mix of MEGS and fresh perlite plus some of the coco/perlite mix from another bag used in the previous grow; the latter is in part there as an easy way to introduce new bioactive compounds, but to be honest, it’s about saving money!
The cup-indent method… tried and true!
I also added a little Mykos to the bottom of the indent before adding the plants over it; this is the second Mykos addition, the first being a light dusting in the seeds around the cups. I might add a little more as a topsoil dressing some time a little later, but this stuff takes a while to mature and there wouldn’t be much point to do it anywhere near flowering.
So here’s where we are now.
I made sure to fill the grow bags pretty much to the top, allowing a little room for easy transit and in case of expansion after watering. What good is a big container if it won’t be filled? I’m very happy with how the Velvet plants have been growing, and hope to give them the best shot I can.
Well, if you have to amend for stage, that takes space for each, so you leave room. If reusing after grows, now you don’t have space to keep same pot going.
Started to set up for transplanting the little ones, only to find I just don’t have enough growing medium on hand; I ordered some that might be here tomorrow, but I’ll probably be out of town before it comes in- gonna be out with friends for four days or so. Here’s hoping they can wait that long!
And finally here’s everyone together. I should have taken a shot before bending them over, it would have been more impressive at this juncture. Oh well, the surprise when I get home will hopefully be only the more impressive for the training.
I topped them as well, the big girls, and everyone got a big drink to tide them over- half a gallon of water with 1/8 tsp (apologies non-Americans for the freedom units; it’s not very much!) of good old ReCharge. Maybe they don’t need it at all, but I figured it would help encourage microbial diversity for now; after my trip I’ll be able to focus on more interesting methods.