Does anyone have experience with epoxy resin? My wife has epoxy kits with the silicon molds for grinders, rolling trays, storage jars… she’s been making the grinders and jars for a few weeks and it’s a struggle to get the air bubbles that form in it from mixing the resin to come out/pop. Looking for ideas to make the process easier. We’ve tried vibrations, a heat gun, hair dryer and torch. All with little to no results. I’m thinking of buying her a 5 gallon vacuum pot setup. @CoyoteCody @PharmerBob and anyone that may have knowledge or experience
3 Likes
I believe @MattyBear works with resins and epoxy…
I seem to remember seeing some beautiful woodwork he did once… ![]()
3 Likes
Thanks Brother!!! Can always count on you to point good directions.
1 Like
I wish I was that talented, but @Myfriendis410 is the woodworker of the group ![]()
![]()
2 Likes
Thanks for the info! I was sure it was either you or @Myfriendis410 … And you’d know who it was! ![]()
2 Likes
The only thing that works is a vacuum chamber. You can pick up a pump and chamber pretty cheap on the “A”.
2 Likes
Get a cheap vacuum pot, and a cheap pressure pot. I find that the pressure pot works best for larger pieces with lots of detail, and the vacuum pot is good for everything else, like flat smooth pieces, but a combination of both as well as the heat gun or torch works the best.
2 Likes
Thank you all for the fast response. I’ll go with the vacuum pot then. Probably 5 gallon since I can use it also if I get back into knife making. That will allow me to stabilize my own wooden handle scales!
2 Likes
Lights are on! I took a few grainy shots seconds before the light turned on too!


I feel that I left way too many lower bud sites on these girls. On top of them being very full plants, now all the lower and inner sites are looking like they’ll be a little fluffier than my liking. All well, lessons learned. Off to trim up for some airflow and light penetration.
3 Likes
Heat gun and the temp of the room your working in should be above 70 degrees and that should help pull bubbles to surface… my wife’s craft room is always crazy warm…
2 Likes
Well, what seems like a lifetime ago, I had to repair circuit boards using epoxy, and since they had to be mil-spec, repairs couldn’t have bubbles… Best advice mix very slowly, use a dental tool, and if you still get bubbles, try to simply push them to the edge and out. It is a slow tedious process to get bubble-free. Good luck!
3 Likes
Thanks @Newt. I think we’re going to give the vacuum pot and pump a try since it would be a multi use purchase with the resin molds and the ability to stabilize my own wooden knife handles.
2 Likes
What do u want to know?
I’ve made a few thing with it!
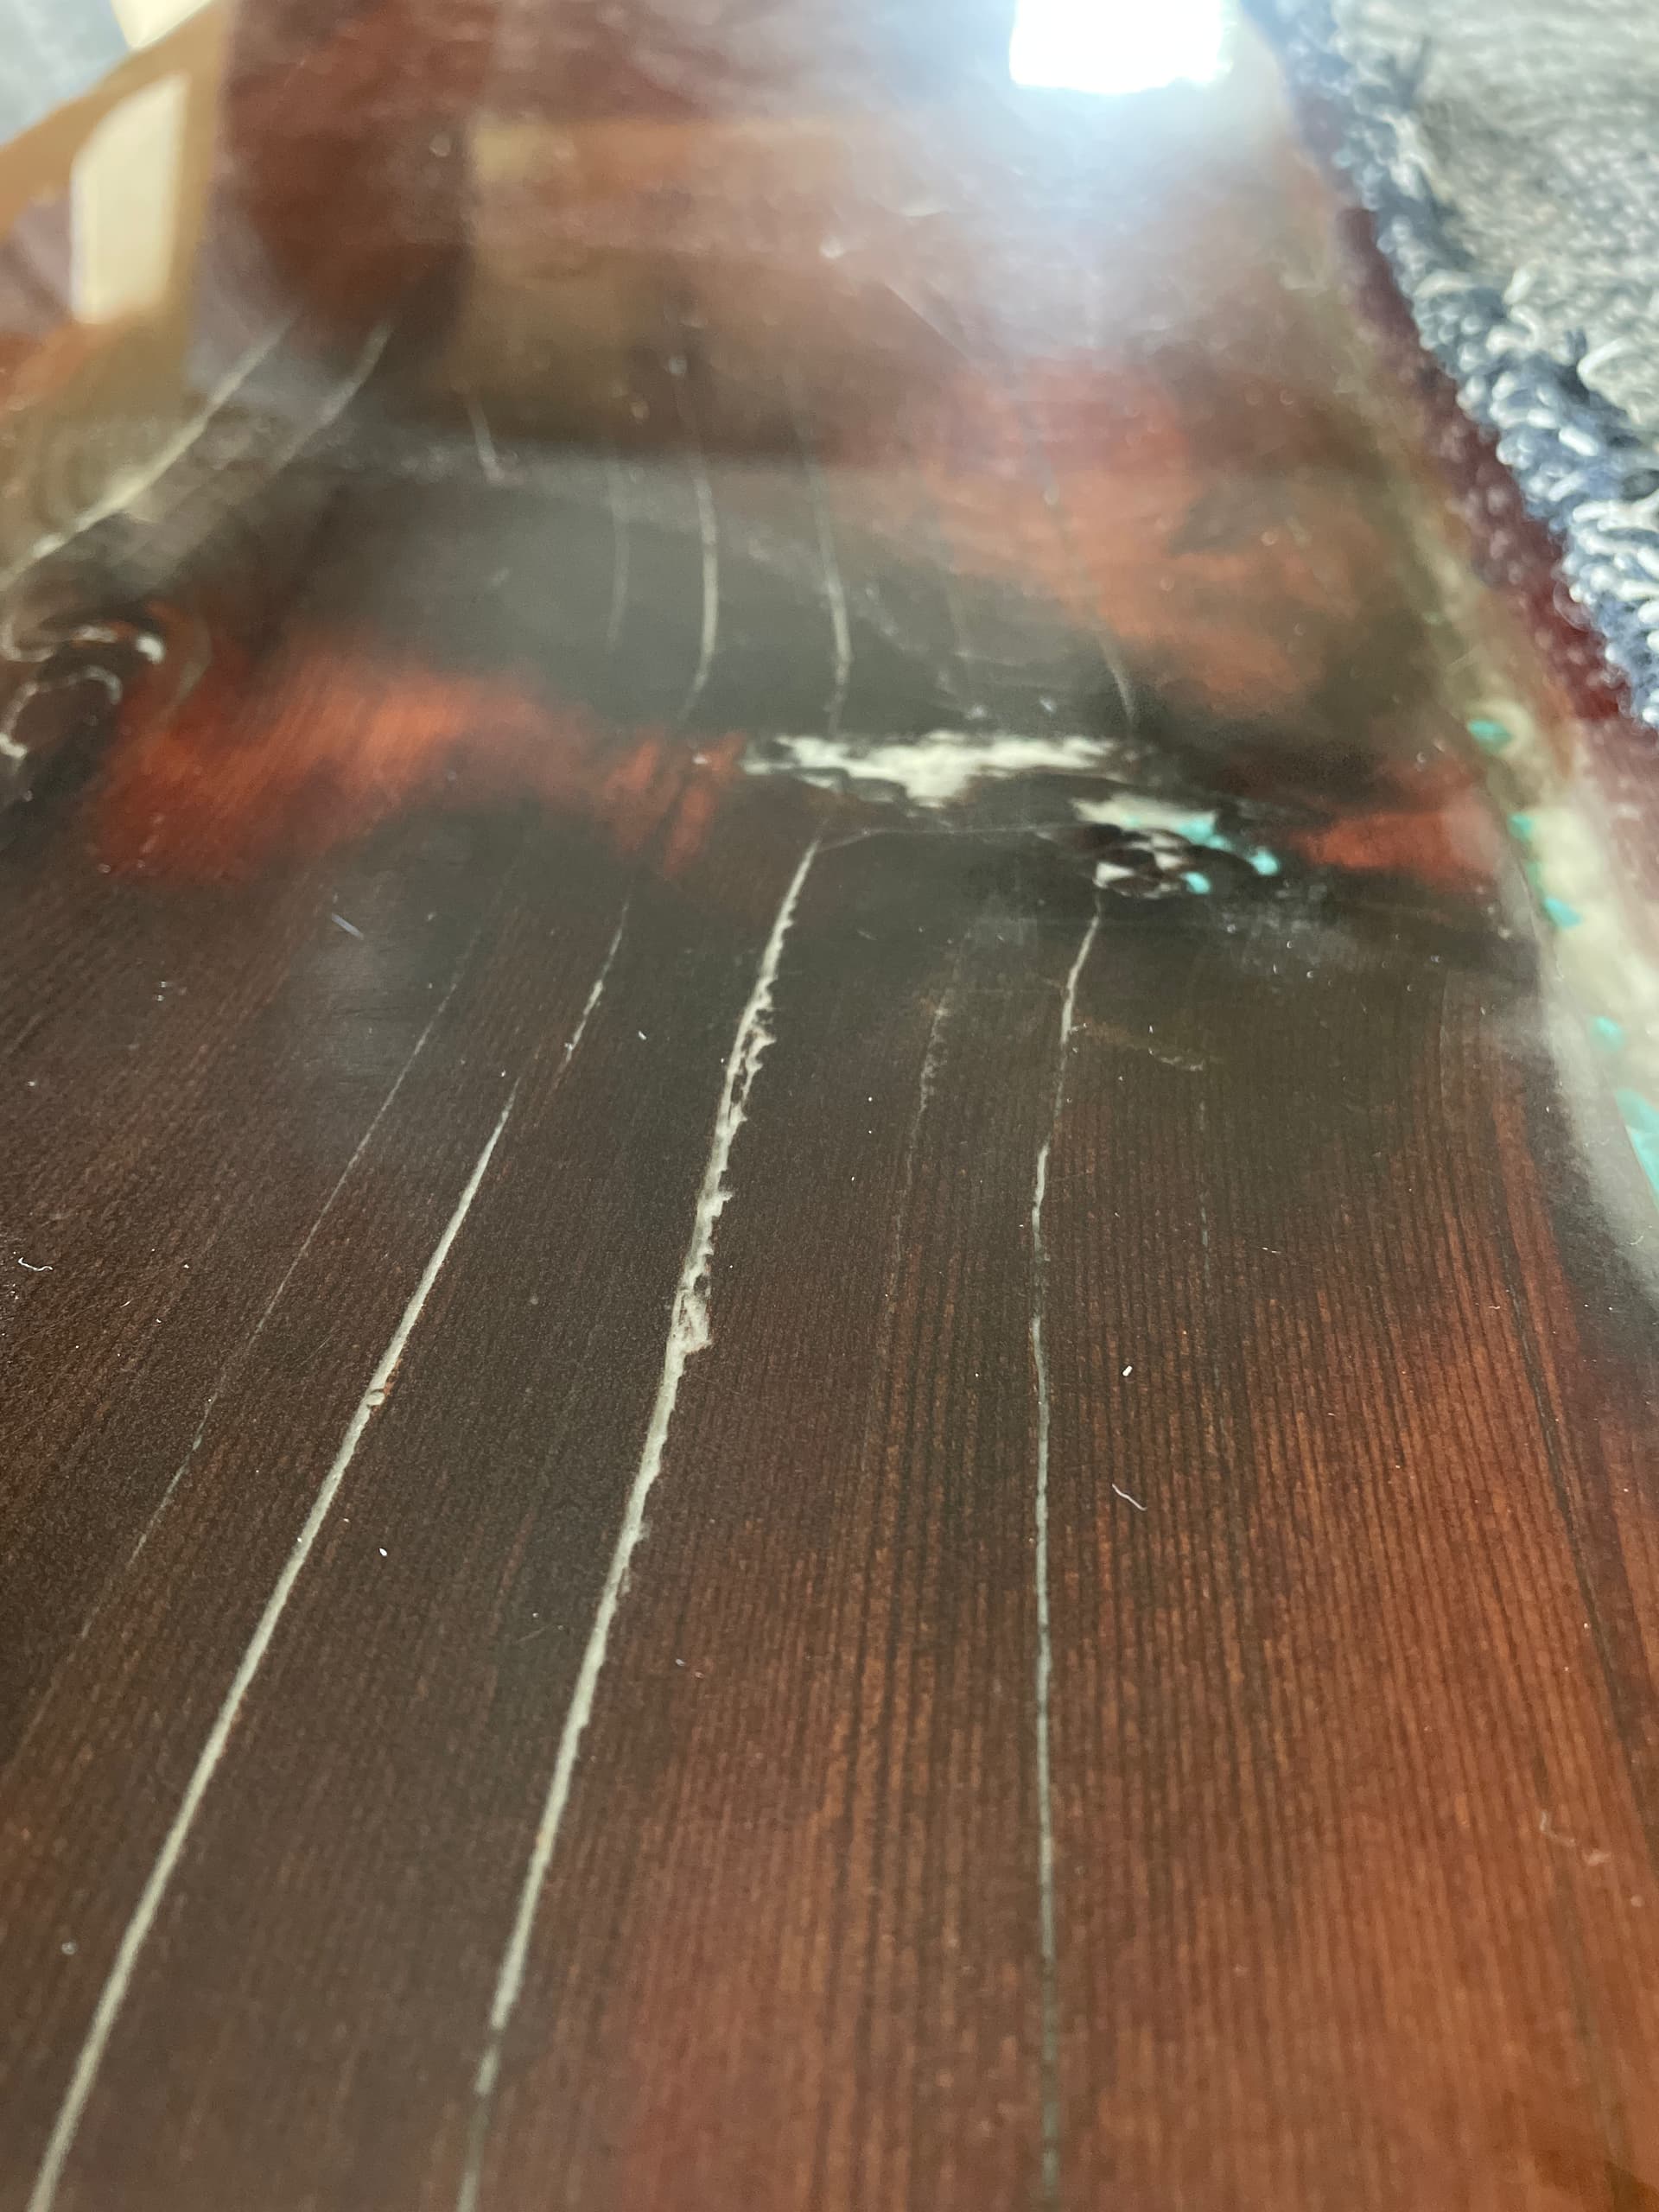
This is our dining room table. 5-6 yrs old now!
It has glow in the dark pigment in the cracks and holes
1 Like
I just need a simple and effective way to remove the air bubbles from mixing the resin in small batches.
1 Like
Personally I use a torch. After mixed when applied to whatever you are going to mold or epoxy. I’ve used other methods but a torch seems to eliminate the bubbles the best
1 Like
I’ve tried a hair dryer, heat gun and torch. All with minimal results and the torch began to melt/burn the edges of the silicon molds a little. Part of our issue is the grinders. The little teeth that actually grind, the resin gets stuck with air bubbles right in the tips of those teeth so they don’t work very well. Heck, I even tried putting an adult toy that goes buzz buzz against the molds to see if the vibration helped bring the bubbles to the surface. Didn’t work but holy moly was it hilarious when our friends came over for drinks and I’m at the table attempting to satisfy a pice of rubber with a piece of plastic ![]()
![]()
![]()
1 Like
![]()
![]() that’s great stuff. In the situation like that I would mix just a small small batch and brush every area that causes issues let it set up and then finish pouring your mold. IMO
that’s great stuff. In the situation like that I would mix just a small small batch and brush every area that causes issues let it set up and then finish pouring your mold. IMO
2 Likes
See and we didn’t even think of brushing it in. We’ve been attempting to pop the bubbles in the teeth with a needle.
2 Likes
I didn’t the first time I tried either… ![]()
I’ve been saving rolling paper boxes to do a coffee table when I have enough shhhhh. Don’t tell. Been saving em for years ![]()
1 Like
Tuesday May 17th will be 8 weeks on 12/12. Roughly 6.5 weeks since buttons. I’ve got 2 definite phenotype expressions. I thought both would foxtail, but only 1 really is and it’s happening from top to bottom so I’d say it’s genetic. Both girls are extremely happy and dense as heck! One smells like citrus and gas the other is more citrus and skunk. I love both! I’m beginning to hit my impatient stage so I’m trying really hard to wait till they’re good and done.
Last week I made a bad decision and cut the net out because I couldn’t get to anything for defoliation. Once out of the net, 1 plant just couldn’t hold itself up and now it’s a floppy mess. Another lesson learned.
Pheno 1 has great longer colas and looks closer to finish but is still throwing lots of fresh white pistils and is probably 90+% clear trichomes. She’s a heavy floppy girl and I can’t wait to smoke her.


Pheno 2 is more chunky buds on thick stems. Less frost on the fan leaves but plenty on the buds. Lower bud sites are smaller than Pheno 1’s but just as dense. This plant also is the one that’s foxtailing a little. The pictures don’t do a great job showing it but it’s there. This one’s covered in fresh pistils and is actually showing quite a bit more cloudy trichs but nowhere near water only.


4 Likes